Cutting hedges made easy: Tips and tricks for hedges
Many everyday things sound trite at first, but upon closer consideration they are generally not at all as self-explanatory as they appear, and many questions arise. This is the case, for example, with cutting hedges. Without background knowledge, hedge maintenance and straight cutting go askew – in the truest sense of the word. In short, it's well worth mastering hedge cutting! Here are all the important tips and tricks for how to cut hedges correctly.
Checklist: All you need to know at a glance
What is the right period in which to cut a hedge? Which garden tools should you use for hedge maintenance? How do you cut a hedge so that it's straight? Lots and lots of questions – here are the answers. The following points act as a mental checklist as to whether everything is organised for the pending hedge cutting.
Possible time period – when should you start to cut hedges? In principle, spring and autumn are suitable for hedge maintenance. In these seasons, it is neither too warm nor too cold, so the cut limbs and sprouts can regrow in an ideal manner. The hedge can be shaped in June. The frequency of hedge cutting depends on the kind of wood in the hedge. Some woods, for example privet or the common maple, sprout more strongly than other hedge types, and so two cuts a year may be necessary. In contrast, cutting the hedge once a year is sufficient for popular types such as thuja, yew or cherry laurel.
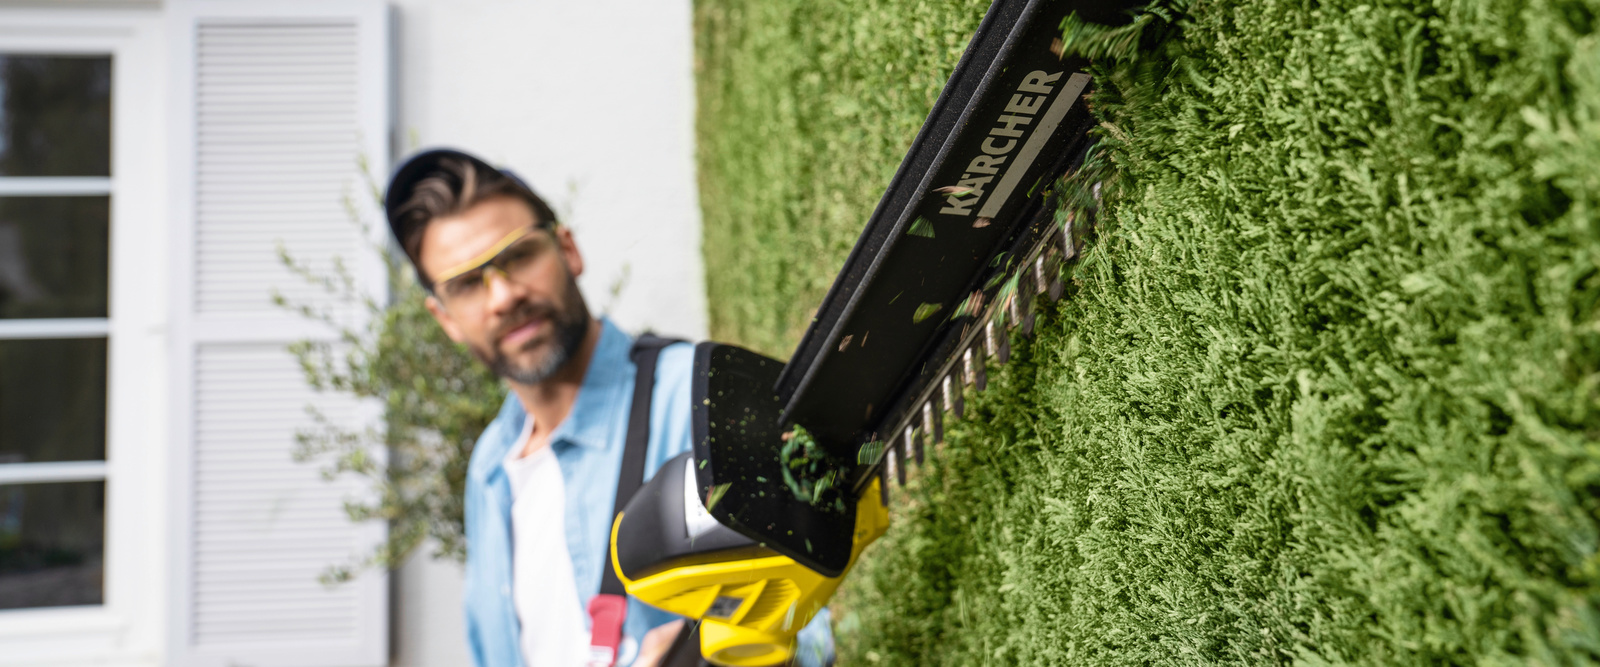
Garden tools and work protection – which equipment is suitable? Depending on the wood and the desired cutting pattern, many different garden tools are required. The main priority here is your own safety. Strong footwear, gloves and safety goggles are essential. The blades of the cutting tool should be sharpened so as not to strain hedges and shrubs too much. When it comes to work protection and effectiveness, battery hedge trimmers are advisable. If the hedge is several metres high, a pole hedge trimmer is appropriate.
Hedge maintenance – what else needs to be considered? Hedges should be cut every year, as waiting for longer than this and the excessively radical cuts that result from this will damage plant health. If the day is too hot, hedge cutting is not advisable, as the freshly cut sprouts could otherwise dry out. Furthermore, regular hedge maintenance serves to cut out possible damaged material and to rejuvenate the affected places as far as possible. Ideally, you should find out about growth behaviour and other maintenance tips before acquiring the plant.
Hedge cutting basics: About hedge cuts, tools and tips for cutting the hedge in a straight line
Now we're almost ready to start! The only question still remaining is how best to shape the hedge. It all comes down to the right cutting technology here. To make sure that shaping the hedge succeeds as desired, the choice of the cutting tool is also of great importance.

Trapezium versus rectangle: Which hedge cut should it be?
Trapezoidal and rectangular shaping are the most popular. The latter saves more space and is suitable for deciduous trees (privet, cherry laurel, hornbeam). Trapezoidal cutting is especially popular. Here, the hedge is rejuvenated upwards so that sunlight falls evenly on the hedge. However, the hedge should not be rejuvenated too much, as otherwise unsightly brown holes can appear. So the professional tip is as follows: Only ever cut back as far as green foliage can still be seen on the branches.
Tools
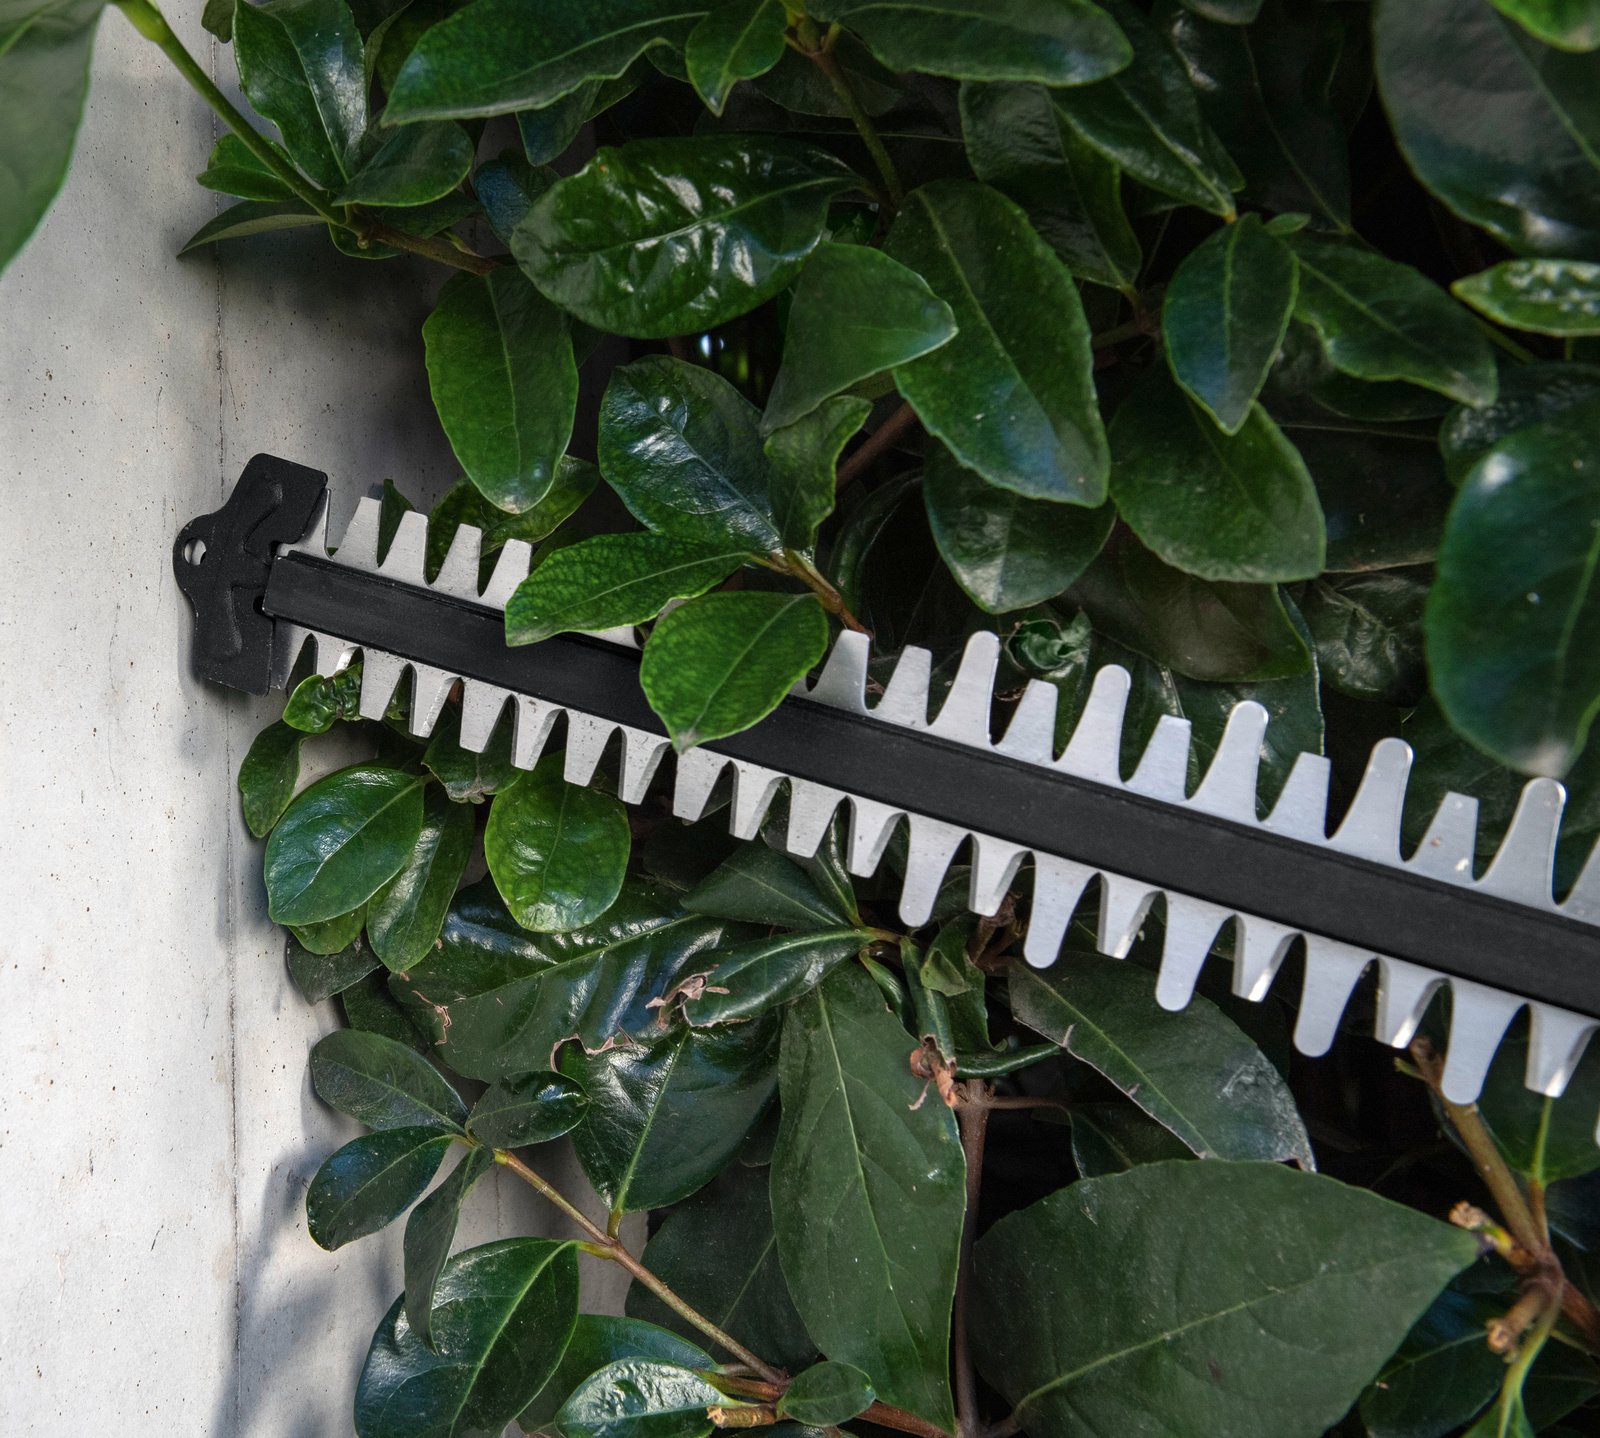
An entire hedge cutting project sinks or swims depending on the garden tools. If the blade of the hedge trimmer is blunt, this can quickly cause damage to leaves and limbs. Diamond-ground blades are the right choice here. You are also exposed to unnecessary danger if incorrect equipment is used. If the hedge is several metres high, for example, you should consider purchasing a pole hedge trimmer. This is not only safer, but is also effective and takes the strain off your back.
To successfully achieve the perfect cut, more and more garden lovers are relying on battery hedge trimmers. In contrast to traditional electrical devices, modern cutting tools manage without a cord but instead with long-lasting batteries.
Furthermore, modern battery hedge cutters offer numerous advantages that enable convenient working in almost all working positions. This includes:
- A sawing function for thicker limbs
- Ergonomic, rotatable handles for a secure hold in all positions
- A cuttings sweeper attachment for cutting material that falls down
- A blade protector that prevents unsightly damage to the wall and ground
- An adjustable cutting head for high hedges
It all comes down to the technology! A straight hedge with a cord.
If you ask a gardening expert how hedge cutting can succeed perfectly and above all how to make it straight, the answer is always: It doesn't work without a cord! It is astonishingly easy. You pull the cord sideways along the upper area of the hedge. The guidance line should be secured not to the hedge but, for instance, to two posts or poles. It should be at the height at which you want the top of the hedge to be after cutting. The guidance line should also be taut, so that it is not bent by limbs protruding into its path, and the desired shape of the hedge isn't spoiled by unsightly bumps.
Cutting the hedge correctly: The perfect hedge in five steps
1. Pulling the cord
A guidance line is pulled taut sideways where you want the top of the hedge to be later. It acts as a guide for cutting straight. Before you begin, you should also always check the hedge for birds' nests one more time.
2. Vertical cutting
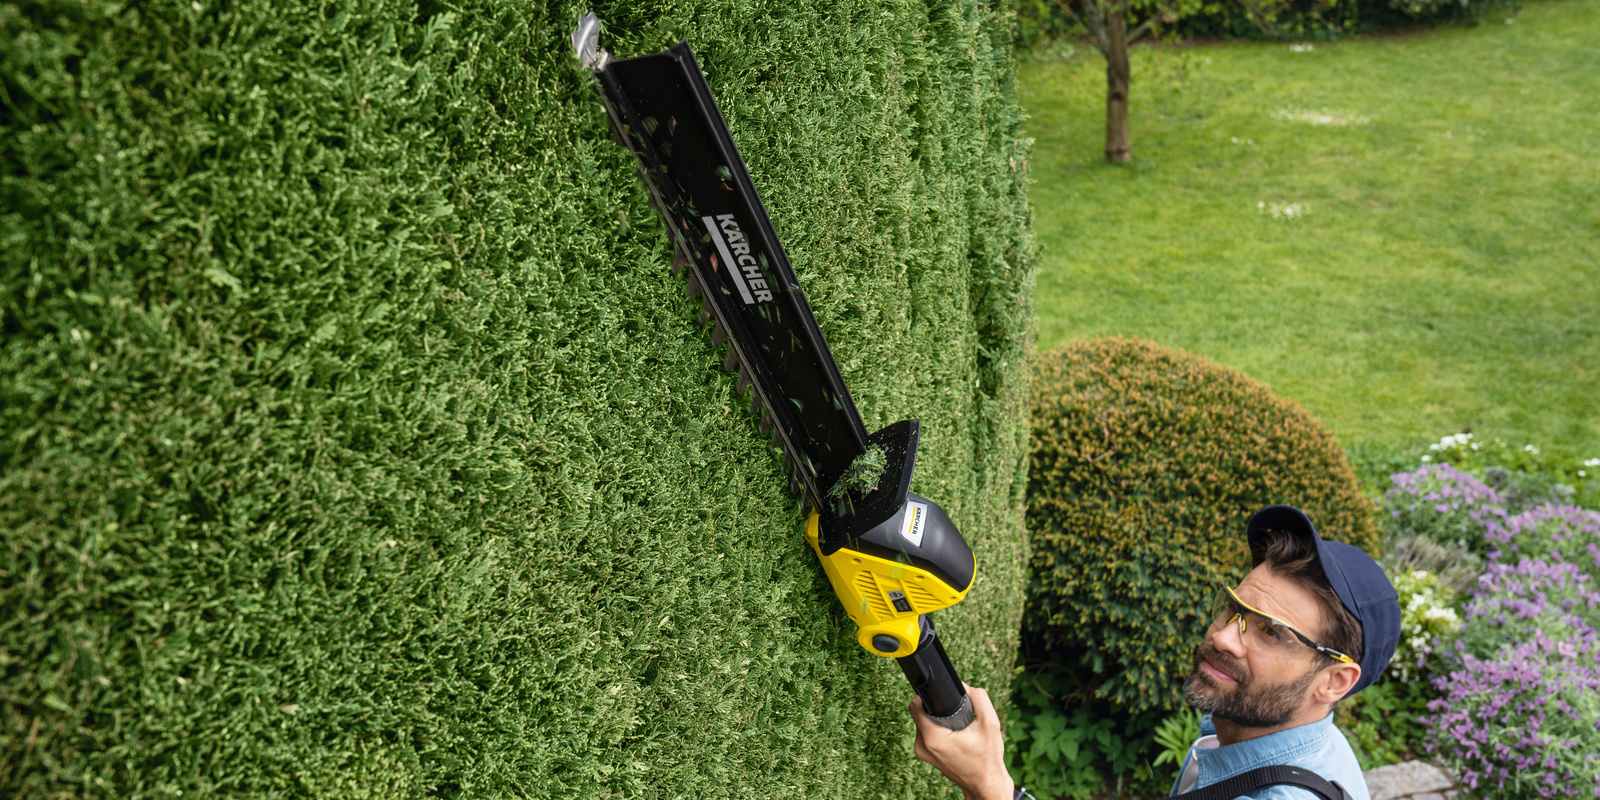
Now the hedge is cut from the bottom to the top with even movements. Taking a step back every now and then is recommended in order to see whether you are still cutting in alignment. Attention: Deciduous trees with larger leaves should preferably be cut manually, as the leaves could potentially be damaged and die off through the use of an electrical hedge trimmer. So the motto is as follows: Less is more! Only cut away as much as necessary and so that green foliage can still be seen.
3. Horizontal cutting
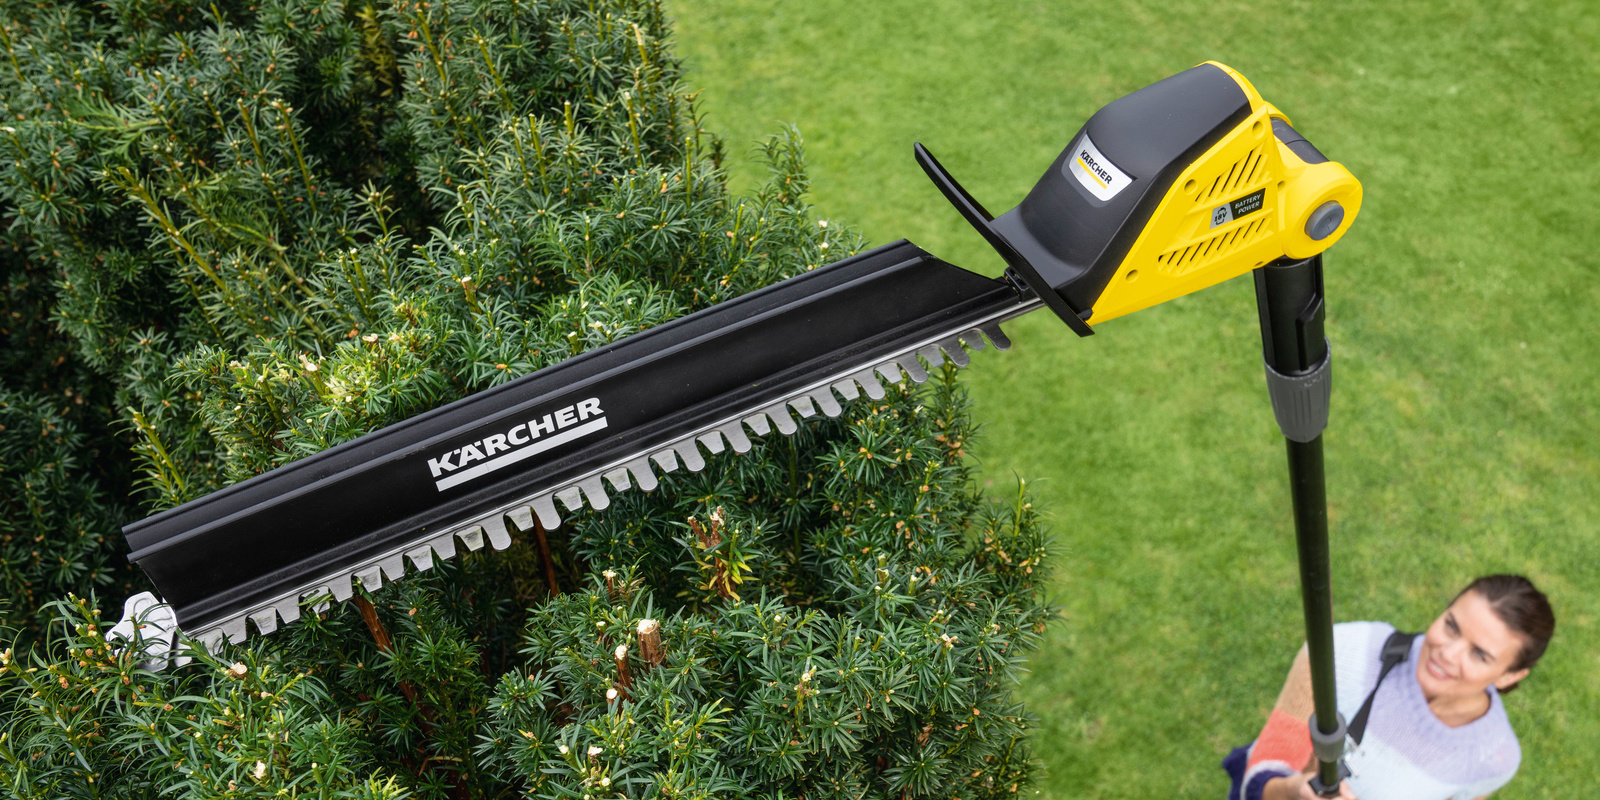
Trimming the canopy requires especially great concentration. The cutting tool should be positioned just above the stretched guidance line. Professional tip: A pole hedge trimmer with an adjustable cutting head cuts precise contours without you having to strain yourself in doing so.
4. Details
As soon as the main area of the hedge has been cut, you can focus on the details with a hedge trimmer and give the hedge the finishing touches. Then servicing and maintenance of garden tools are due.
5. Maintenance
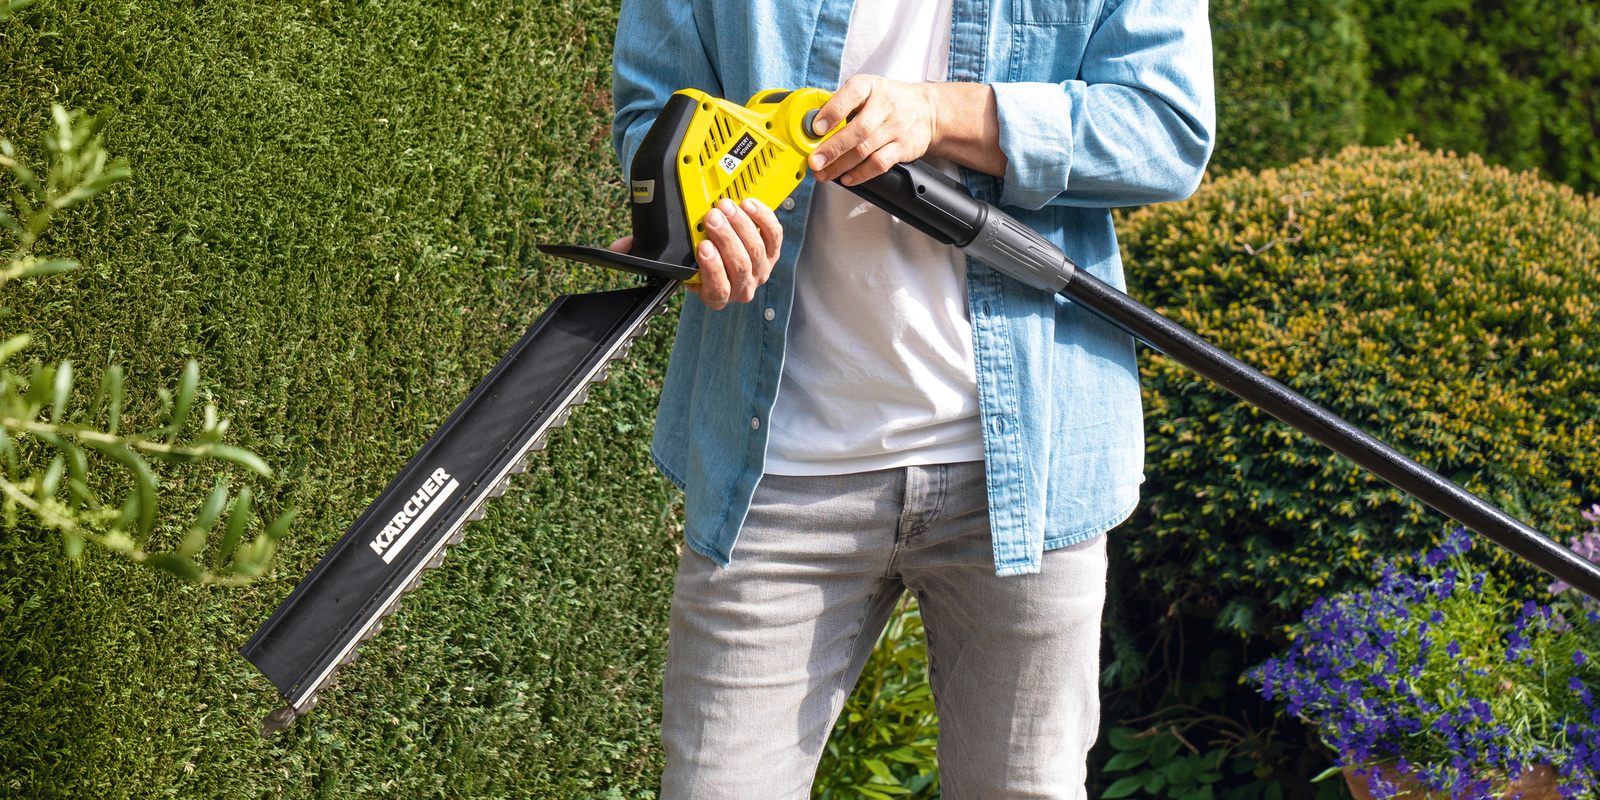
Ideally, you should check every device immediately after use for damage and dirt. Should earth and plant residues still stick to the device, these can be removed with a damp sponge and a hard brush. It should be regularly checked that all nuts, screws and bolts on the device are seated firmly. Regularly sharpening the cutting blades of the hedge trimmer with a flat file is recommended in order to maintain a consistently good cutting performance. Then removing the ridge resulting from grinding with a sharpening stone is also recommended. Anyone who doesn't dare to grind the cutting blades themselves can have the hedge trimmer sharpened by a specialist. Last but not least, the blade should be polished with a suitable oil (e.g. Ballistol oil) in order to protect it against rust.
6. Hedge cutting disposal
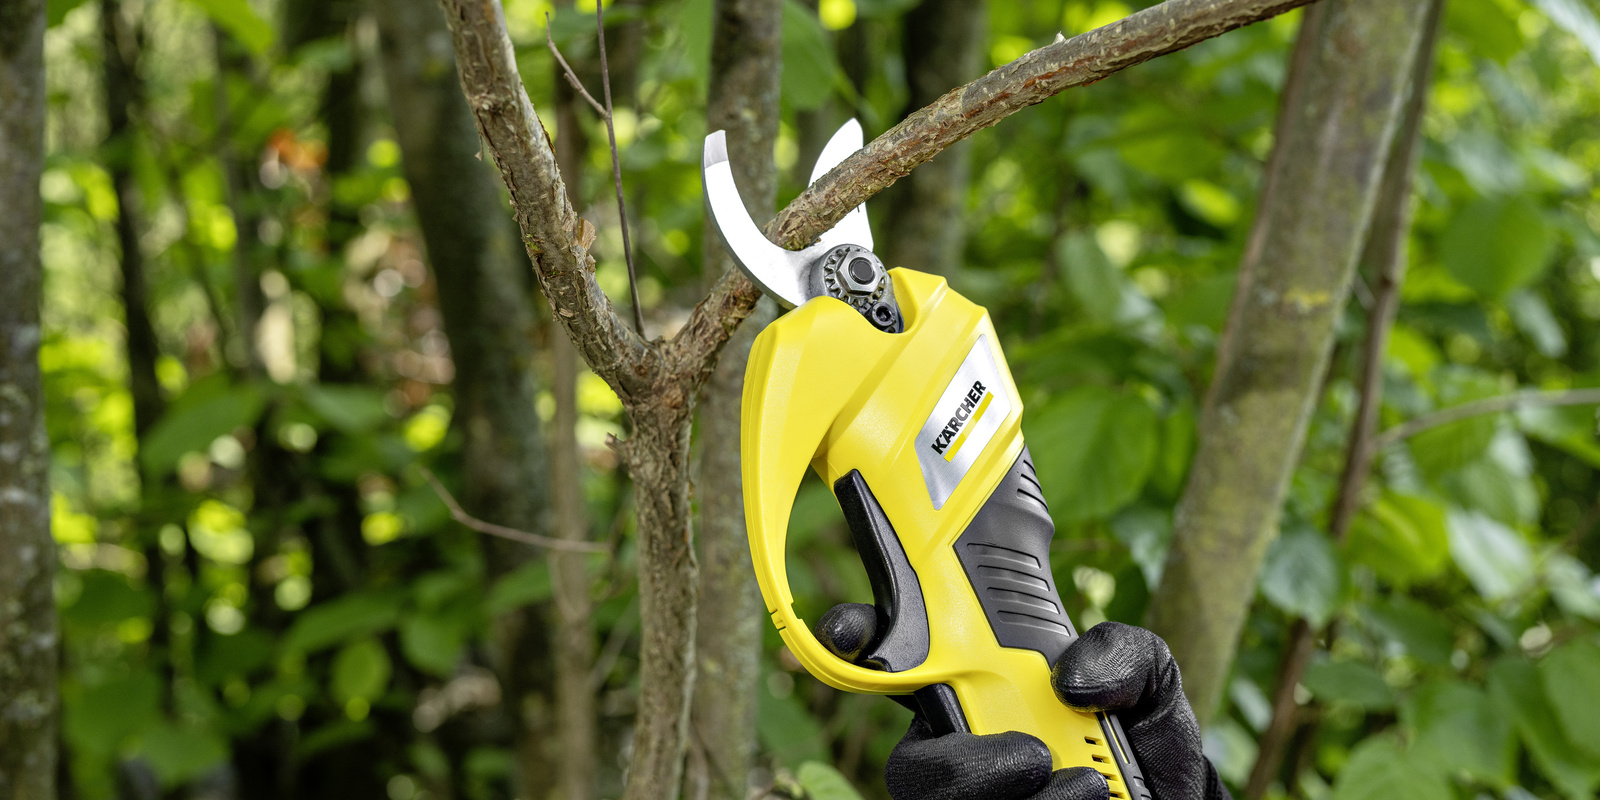
First work then pleasure – before your own work can be admired, trimmed branches and leaves must of course still be disposed of. Anyone who owns a chopper can optimally chop the cutting material and thus prepare it for the organic waste bin or the compost heap, or for further transport to a recycling centre. A limb cutter is also appropriate for thick limbs.

